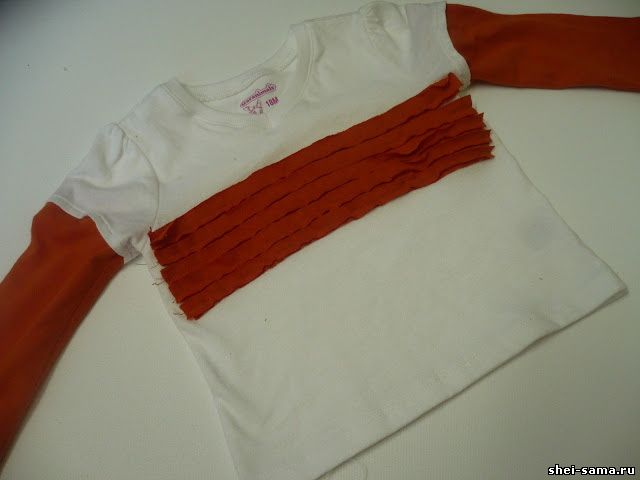
In this article I wanted to give you something that will be useful to almost everyone. You know how we all break up with t-shirts in the late summer, they look and fit great, but they're short sleeved, so they can't be used during the fall and winter. By the time summer comes back again, shirts will be too short already.
I found a pile of clothes with short sleeves. These clothes are so good that I wanted to use it somehow. It dawned on me... add the sleeves is not difficult. After all, I sew clothes from scratch. Adding just the sleeves much easier and faster.
So here is the how to add sleeves to your little (or yourself).
Materials:
1 t-Shirt with short sleeves
1 XL t-Shirt in a contrasting color (or any knitted fabric. With t-shirts will be much faster.)
The addition of a full sleeve:
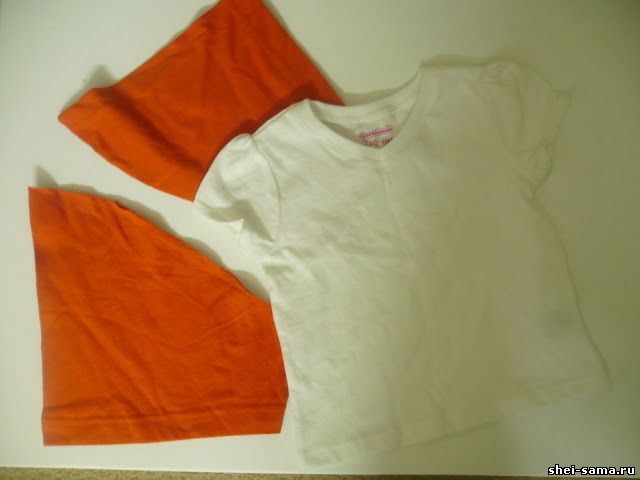
Cut off sleeves from an adult t-shirt.
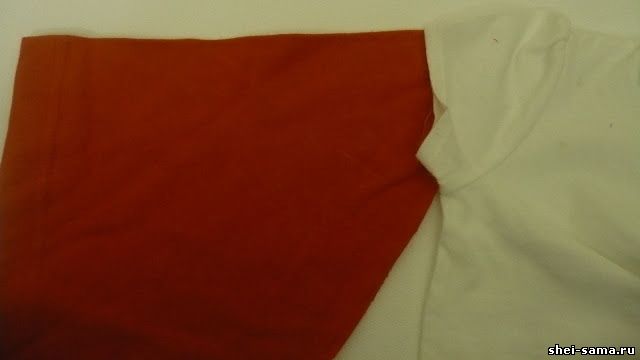
Place the cut off sleeve from a large t-shirt sleeve children's t-shirts. Make sure both sleeves top to create a straight line and overlap by about 1.5 cm. Measure the required length of the sleeves.
Once you have determined the correct length for the sleeves you have to determine the width. What we want to do is to make an addition to the sleeve that is as wide as the existing sleeve and then it tapers into the natural shape of the hand. So, have you measured the width of the existing sleeves. Now add 2.5 cm for the seam.
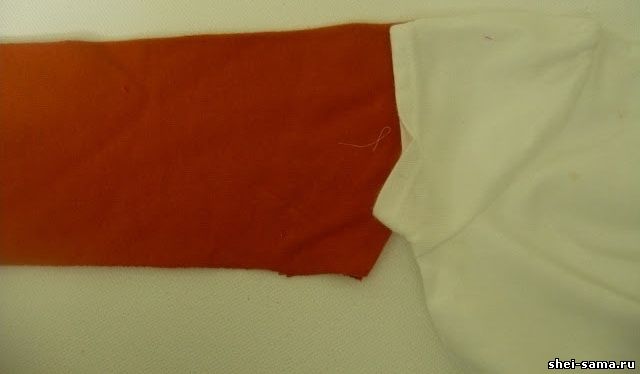
Do the same for the other sleeve.
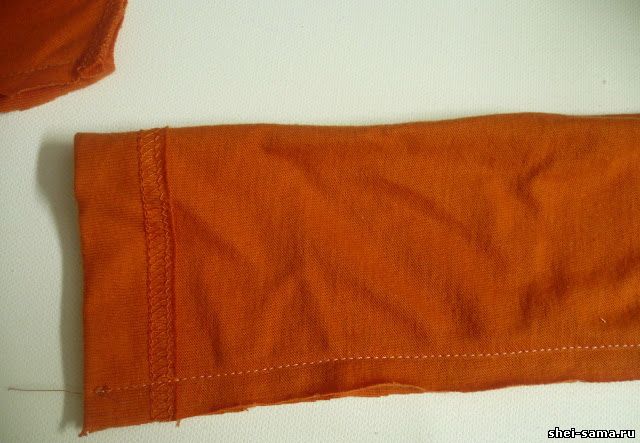
Now fold each sleeve in half along the width (right sides together) and sew seam on the side using a sewing fields. Repeat for the other sleeve.
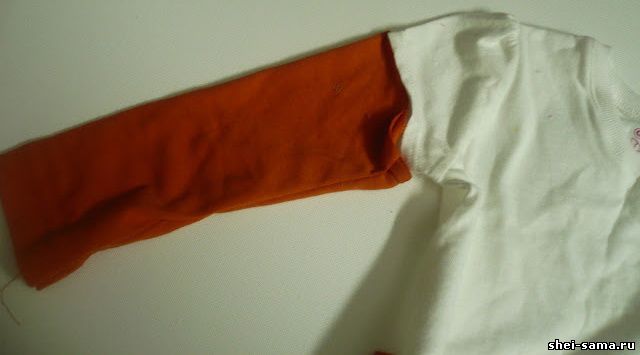
Remove this tube from the sleeve inside out. Now compare it with the real sleeve as shown above. Now gently push the wide end of the sleeve to the existing sleeve. Straighten both sleeves with the hands. Make sure the new sleeve is adjacent to the short evenly. Use hand basting or pins to lock it in place.
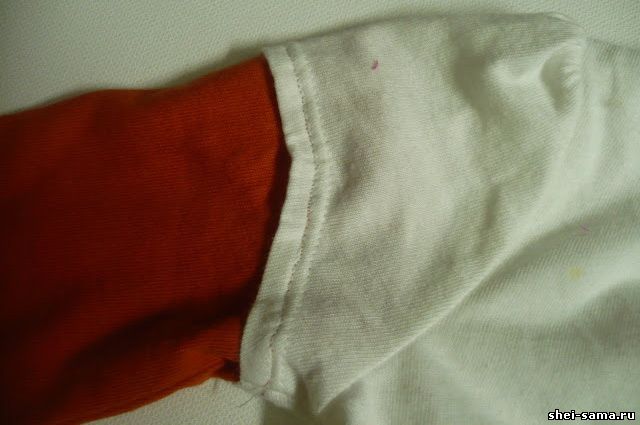
Sew a seam along the joint of new and old sleeves. Repeat for the other sleeve.
Yes! Your t-shirt has long sleeves now... smile!
Decoration contrasting stripes at the front
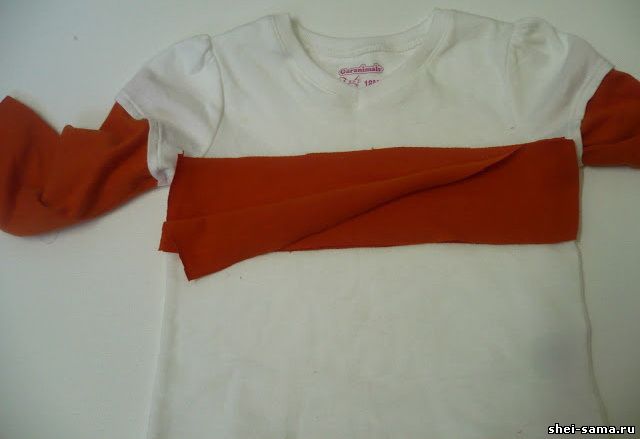
Cut two rectangles of contrasting fabric with a length equal to the width of shirt and width = 12 cm and Place them one above the other, and then on a t-shirt in the place where You like.
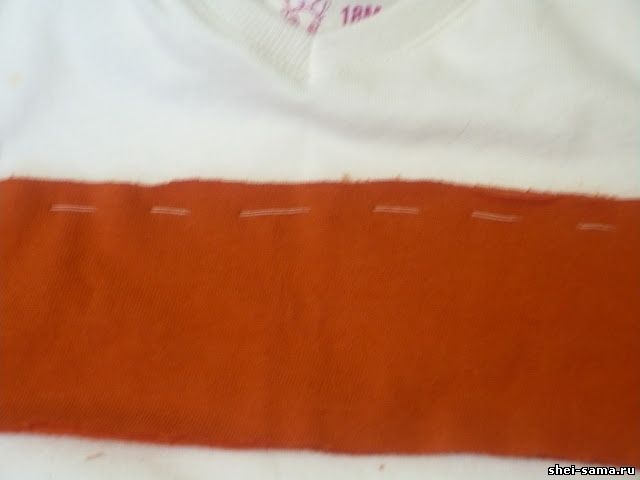
On a typewriter or by hand baste them to ensure that they will remain in place.
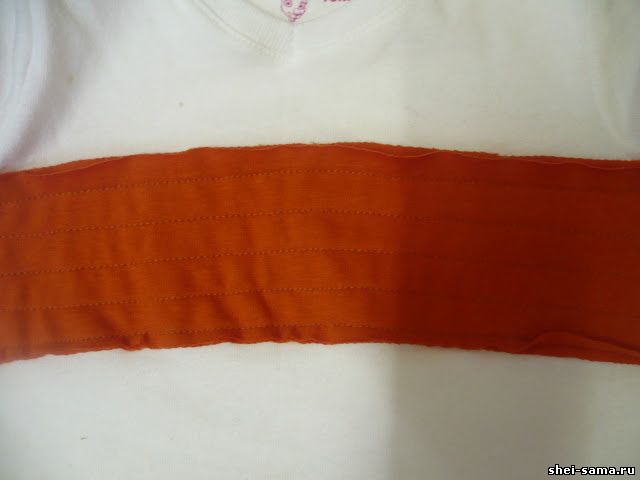
Now sew parallel lines along the hand basting. A distance of about 1.5 cm from each other. You can use your sewing machine as a guide to receive a uniform space between the lines.
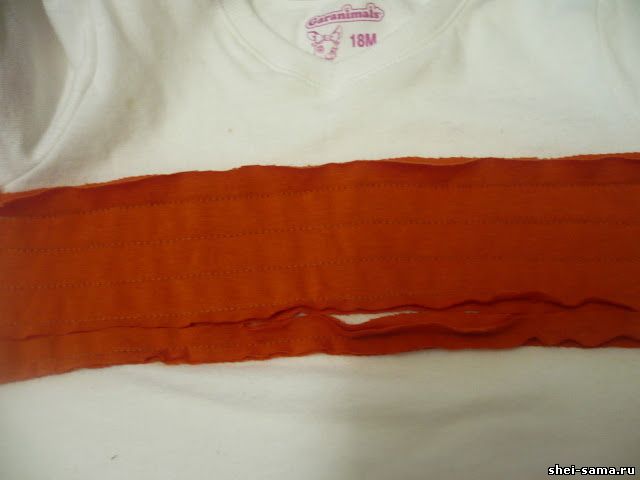
Once you are done sewing, make the cuts. Cut between the seams, making sure you cut only the layers of fabric and not touched the t-shirt. I used small scissors to do it. Try to stay in the center between the two seams, but You don't have to be exact. We use the fact that knit does not fray. So that we can leave a raw cut edge.
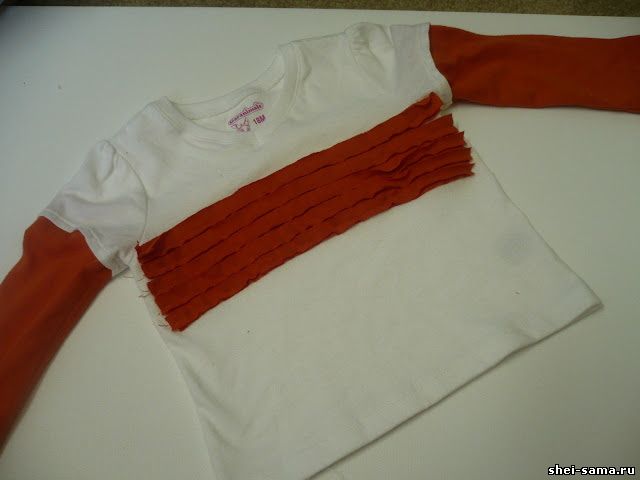
Congratulations! You have successfully transformed your t-shirt. Subsequently, the strip will curl after washing.
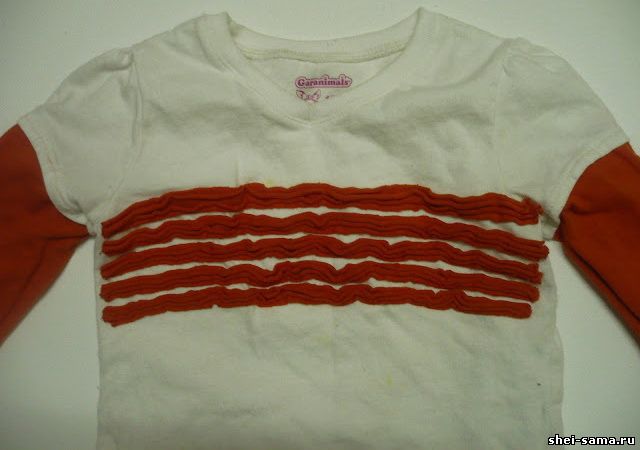
So they are more like the crimped strip of orange and white. For greater effect you could use more layers, and a graduated color of the layers. So when you cut, you will see colors of different intensity. I didn't do it, but I think it will look cool.
| 
