Materials:
* Knit fabrics: take 2 pieces of same fabric or pieces of two different fabrics – use up those scraps, which are too big to throw away but too small to make a dress, top etc.
* Print out the pattern [PDF page 1 and page 2], tape the two pages as shown and cut out both parts of the pattern (total of 3 elements – part 1 spans both pages and piece 2 on page 1. Once you cut out all three pieces, tape both parts 1.
1. Fold each fabric in two layers, then fold again. Place each template on your piece, folded and cut. So now you have two pieces of #1 and two #2.
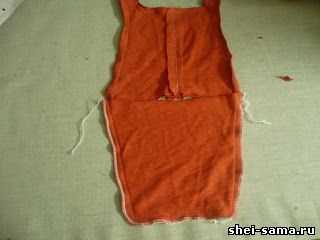
Note: the Seam in the center, it's because I didn't have enough of a whole piece of fabric.
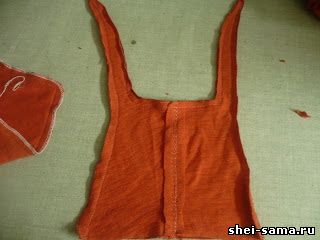
2. Sew together the pieces of #1 along the cone and Bunny ears, right sides towards each other, leaving only the lower straight side unsewn. Sew together the pieces of a #2 around the curved sides face each other.
In this place, my camera died and I couldn't take pictures of the rest of the process, so I continued with another hat next day.
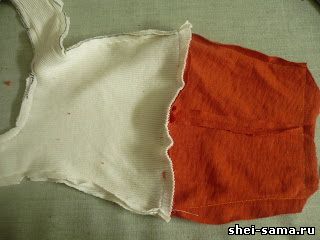
3. Now connect #1 and #2 and stitch along the raw edges, right sides together. Leave about 5 cm hole.
4. Using the hole, turn the whole thing inside out. Use a pencil to poke the ears out of fabric #1. Insert fabric #2 inside fabric #1.
5. Sew the hole.
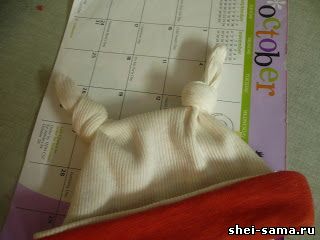
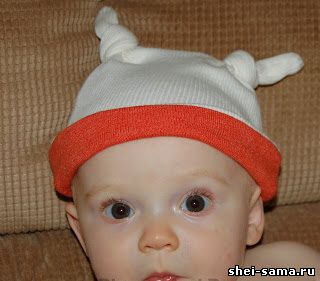
6. Tie two knots on the 'ears' of fabric #1. You may have to adjust these knots a bit to give them the right kind. Nodes will also give you the ability to adjust the size of the hat under the baby's head.
The best part is that this hat has no internal seams disturbing your baby's skin.
| 