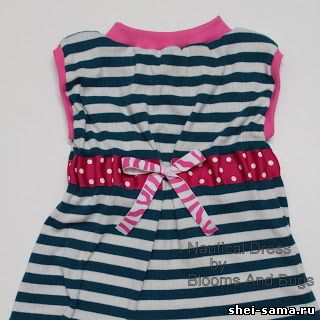
The idea of this dress were sticking in my head for a long time. I finally took the head and did it. I liked the way this dress looks on my girl. Here's how to make the dress.
Materials:
1. Knit fabric (preferably with horizontal stripes): 1 m (I used Mike to make this dress)
2. Pink ribbon: 2.5 cm width or even wider
3. Narrow ribbon: 1 cm width
4. Stretchable fabric for neck and armholes
Measurements:
• Measure the widest part of the body of the child: call him Op (circumference)
• Width of the dress: SHP = (Op + 5 cm)/2
• Dress length: Measure from highest point of shoulder to the desired point. Let's call the measure DP.
• Measure the length from tip of shoulder to bottom of armhole. Let's call it A1. A = A1 + 2.5 cm
Sewing:
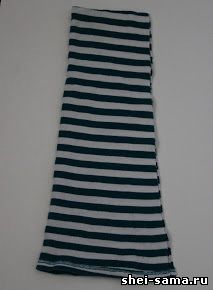
1.Cut two layers of fabric in the crook of length AP and width SHP. If you use a t-shirt or shirt measure from the bottom of the DP. So You can use the existing hem for the future dresses.
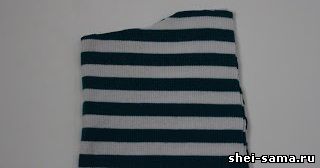
2. Cut out neckline.
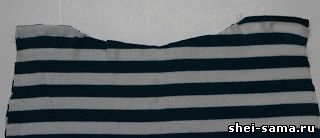
3. Sew the shoulder seams (right sides together). Also leave a gap for the armhole and sew the sides. I left a gap of 10 inches for armholes.
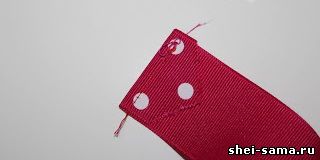
4. Take the wide pink ribbon and cut it V-shaped on one end. Fold the tip towards the wrong side and sew.
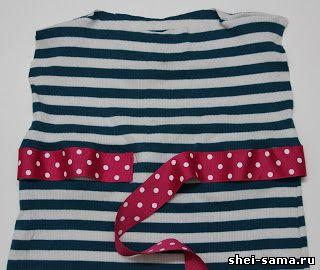
5. Sew the ribbon starting at 2.5 cm from the center of the dress. Thus you have a gap between the ends of the tape 5 cm Lead seam tape as close to the edge.
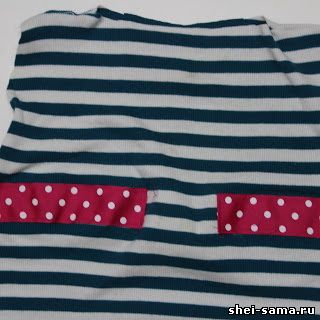
6. Cut V-shaped other end and fold it inside. Sew the remaining seam. Use stripes on the fabric as a guide, to be sure that the tape is sewn smoothly.
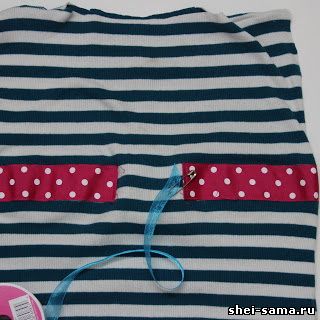
7. Use a safety pin to thread the narrow ribbon belt.
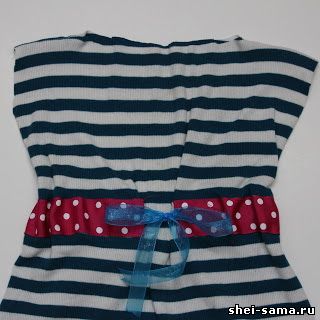
8. Pull out the tape on the other side and use the bow to tie the waist.
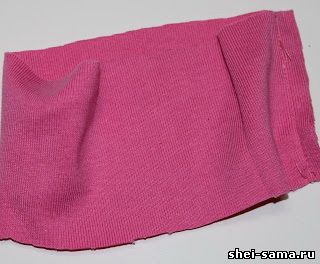
9. To cut the neck, cut a piece of stretch fabric with a length of about two-thirds of the cutout and a width of 10 cm to Sew the narrow sides together.
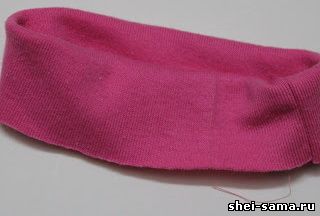
10. Fold in half.
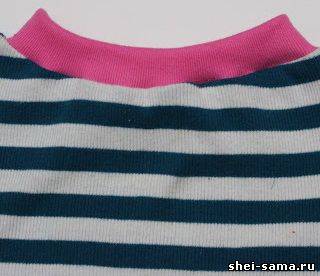
11. Stretch and sew along the neck line. Use pins while sewing to make sure that the fabric is stretched evenly.
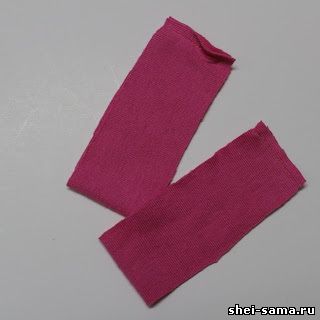
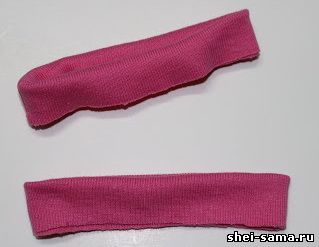
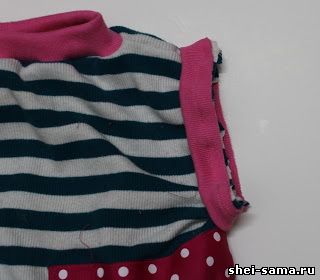
12. Repeat steps 9 through 11 for the armholes. Then I realized that the turquoise ribbon is not very suitable and replaced it with pink Zebra. Finish the hem with your preferred method. Because knit does not fray, you can leave it raw. However, hemmed hem gives more definition to the clothing, so I would recommend to take it up.
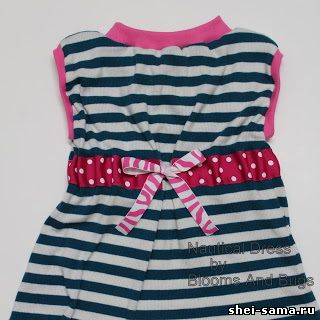
| 
