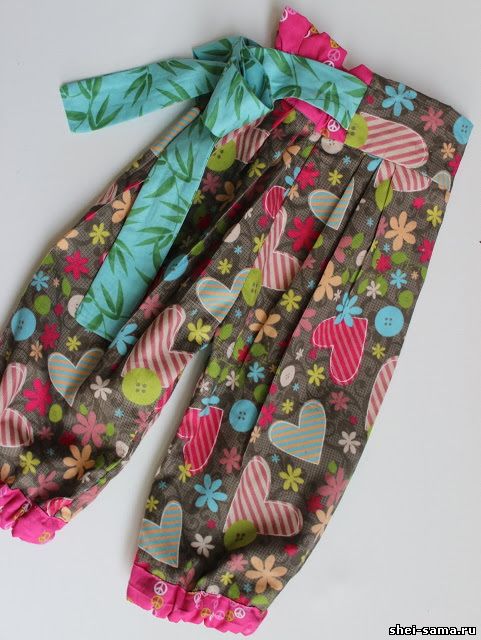
I made these pants because I wanted something fun and a little different from the pants leggings my daughter's closet. My first attempt left much to be desired, so I tried again. This time I liked the way they turned out. This model is ideal for both boys and girls, just pick up the cloth with another boyish figure. And you will have your Aladdin ready to ride on a magic carpet.
Here's how to make pants.
Materials:
I did it with:
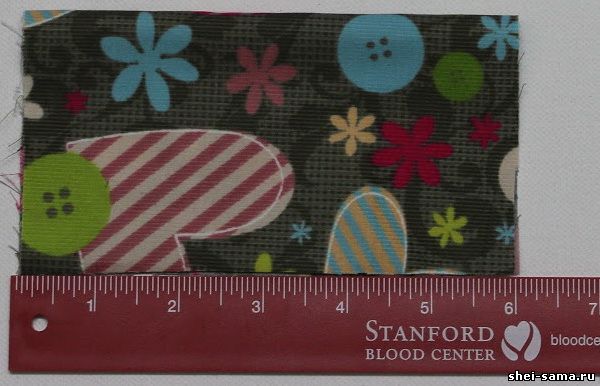
1. 50 cm from the main fabric
2. 25 cm each of two contrasting fabrics.
But I recommend to use:
1. 70 cm of the main fabric
2. 25 cm contrast fabric for the apron with ties at waist and cuffs for legs
3. Elastic band width 2.5 cm belt - 38 cm
4. Elastic band width 0.6 cm for legs - 50 cm
Sewing:
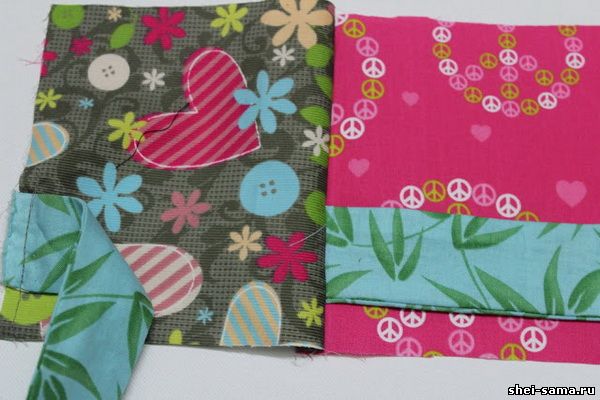
I recommend using slightly heavier fabrics, such as baby corduroy, linen or cotton for these pants, but not too heavy like jeans. For belt I used the pink fabric as it was not more appropriate.
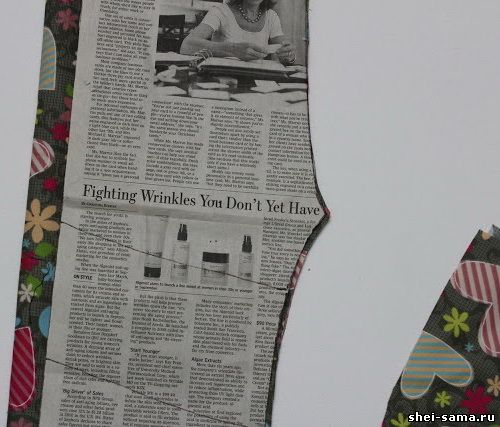
Use your favorite pattern along with the changes. That's the one I used. (Page 1 and Page 2)
Cut them into 4 cm wider on each side of each leg. It needs to add 4 x 4 = 16 cm in width. We need this because this pattern is for pants that are roomier than regular pants.
If your template has a belt, cut the pants into 4 - 5 cm lower than it should be. This is because we will make the belt separately.
2.
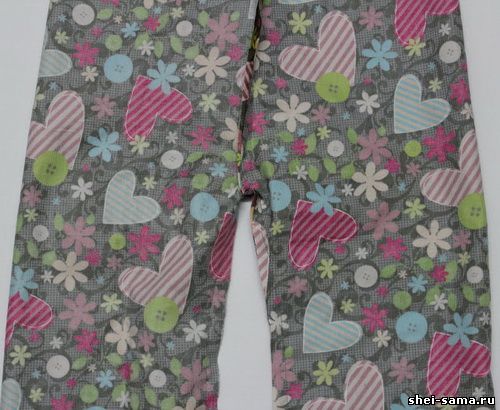
So, you cut out the trousers, now they have to make.
3.

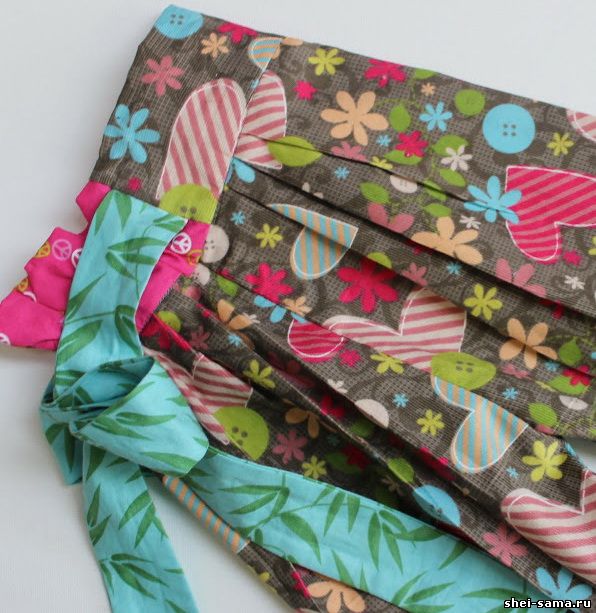
Now at 5 cm from the center seam, make three marks in both directions at a distance of 4 cm from each other. Use these markings to make three folds. Make sure the folds on both sides stand opposite each other.
4.
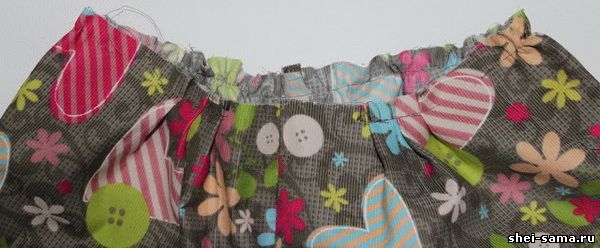
Now sew a seam along the waist with the longest stitch on your machine, pull the bobbin thread gently to gather a little in the rest of the waist line. Don't get too much. Make sure you leave enough room at the waist. In the future we will use elastic in the waistband for a tight fit.
5.
Now you can make the belt, cut the fabric piece 15 cm in width and 16.5 cm in length. Now measure the waist of the trousers and subtract 12.5 cm let's call this the length of line O other fabric cut 16.5 cm long and 15 cm wide.
6. Make ties at the waist by cutting two strips of 1.05 m (length) x 7 cm (width). Fold each strip in half (right sides together) and sew along the long side. Now you need to turn.
7.
Sew an apron tie waist. Sew ties at a distance of 2.5 cm from the edge.
8.
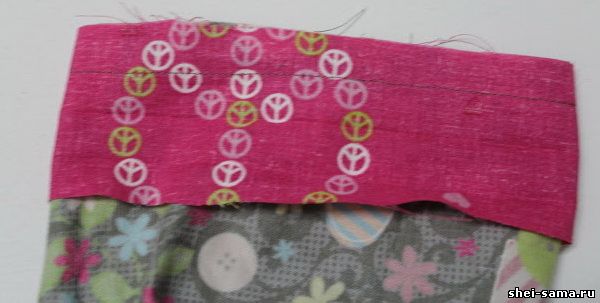
Now place a smaller piece of belt over the right side of the pants (right sides towards each other), leave about 2.5 cm from the starting point and sew along the waist. Stay around 2.5 cm to complete the circle.
9.
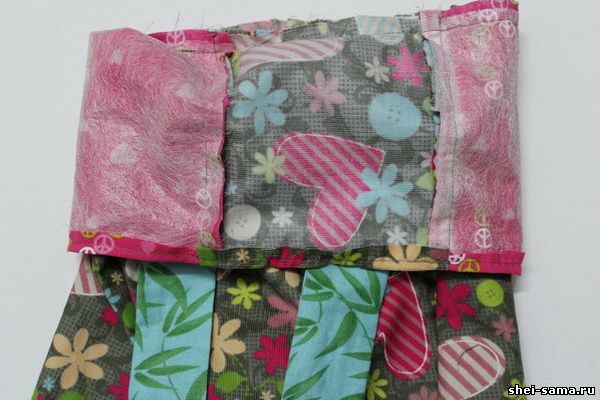
Now, connect a smaller piece of belt with a larger piece and sew. Cut off the excess fabric. You can now finish the seam at the waist. It?
10.
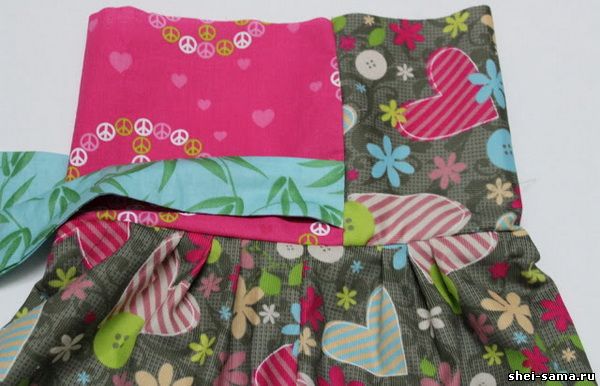
Here is how the belt will look after you spread it.
11.
Now turn the waistband down again. Fold the raw edges 0.6 cm inwards and sew basting stitch along the edge.
12.
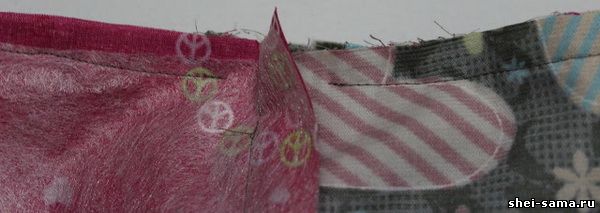
Fold the waistband inward so that it hits right at the seam that connects the waistband with the pants. Sew a seam along the waistband on the outside leaving a gap in seam 2.5 cm make Sure you get to the other side of the belt inside. Use pins or baste by hand, if necessary. The above photo shows the clearance on the right side of the waist. You should do the same on the other side.
13. Insert the elastic in the waistband, using these gaps. Sew a zigzag stitch on both sides to secure the elastic.
14.
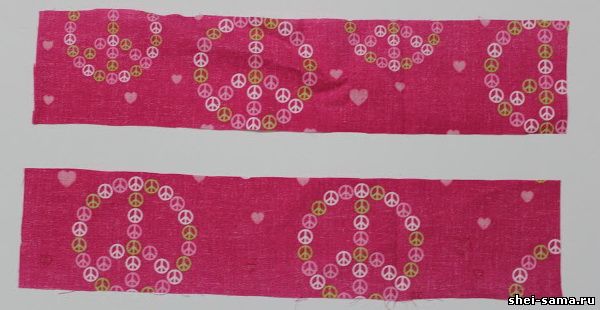
Smears for cut strips 5 cm wide and of length equal to the circumference of the bottom of the pants plus 5 cm.
15. Fold these strips in half along the length and secure. Fold both edges in half again (to turn inward) and secure.
16.
Sew the strip right side to wrong side of hem.
17.
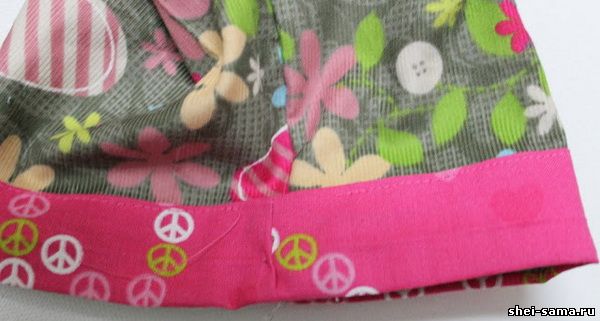
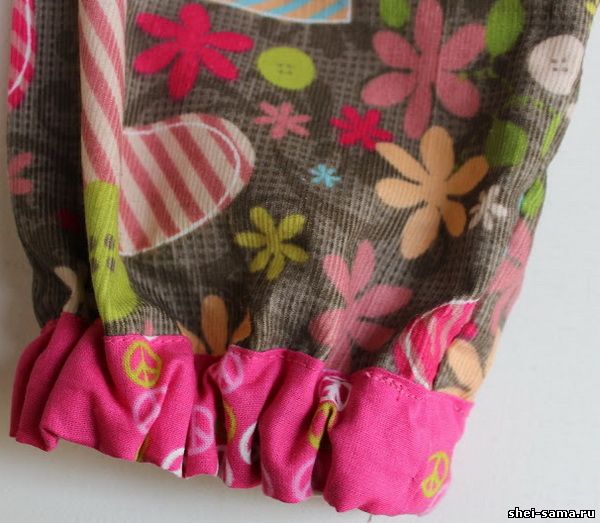
Fold and sew the top edge as close to the edge. Leave a gap of 1.5 cm to insert the elastic.
18.
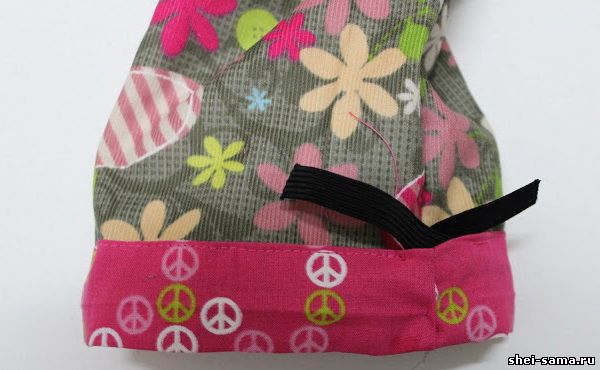
Insert the rubber band through the hole. Pull it so that the foot is comfortable. Sew both ends by imposing them on each other. Shove the rubber back into the cuff and sew the hole.
19.
Repeat step 15 - 18 on both legs.
20.
You can always adjust the bow when the baby grows the waist.
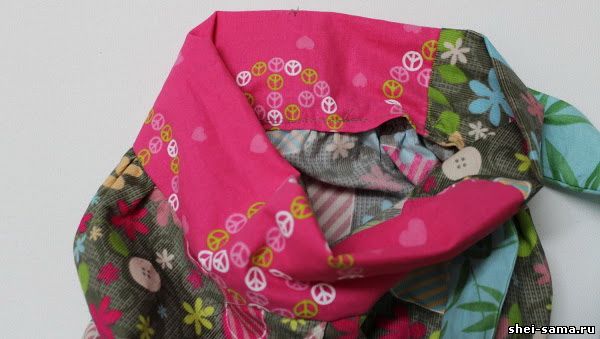
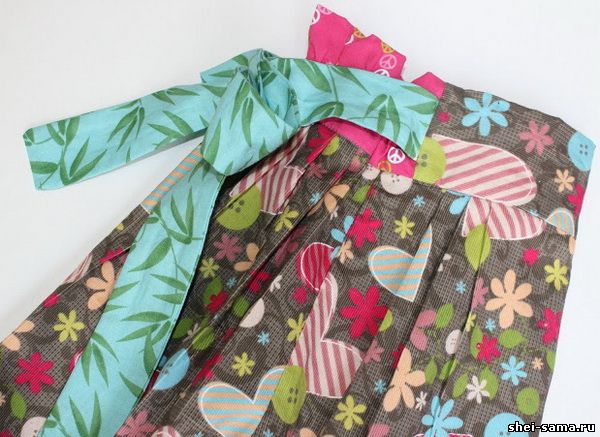
Here is a view from the back.
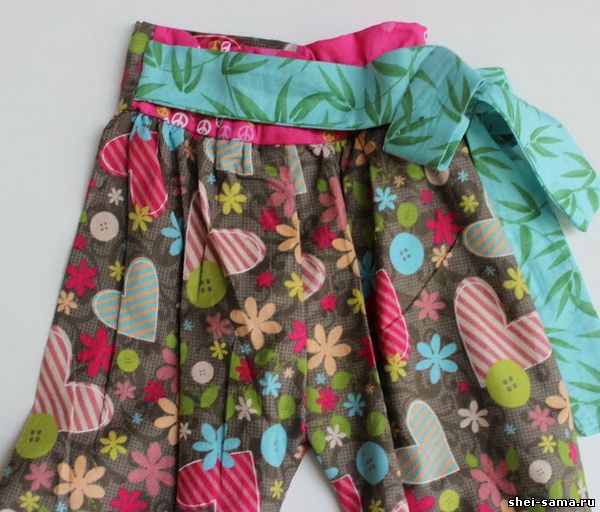
Here is the view ahead.
Now all you need is a magic carpet!
| 